Are NFTs interesting to you but you aren’t sure how to begin? In this guide, we’ll show you how to mint an NFT 4 different ways!
We’ll go over:
- What an NFT is and what marketplaces are used for
- The top NFT marketplaces to check out
- How to mint an NFT on:
- Mintable
- OpenSea
Once you mint an NFT, you can show it off to others are sell it on the marketplace. If you have any questions, make sure to comment down below and let us know.
Related: Check out the best NFT marketplaces to buy and sell NFTs on.
What is an NFT?
NFT is an acronym for “Non-fungible Tokens.” An NFT is a unique digital asset such as an animated GIF, art, drawing, photos, or item in video games, and more. Non-fungible means that NFTs are unique and cannot be swapped for each other. Every NFT minted can be 1 of 1 unique if you want it to be.
NFTs give you the opportunity to buy and sell the ownership of digital collectibles or items using the blockchain. The blockchain keeps track of the true ownership of digital collectibles.
In other words, NFTs can be defined as the digital version of owning an autograph, art, or anything digitally.
Crypto enthusiasts trade NFTs for real-world money. NFTs can be created or minted on NFT marketplaces.

What is an NFT marketplace?
An NFT marketplace is a platform where you can store, trade, display, and mint NFTs. Think of NFT marketplaces as what eBay and Amazon are to goods.
To access NFT marketplaces, you will need to have the following handy:
- A crypto wallet: You will need a blockchain or NFT compatible wallet. For instance, you need a wallet like MetaMask if you wish to buy NFTs based on the Ethereum blockchain. Similarly, you’ll need a wallet service like Sollet if you wish to buy NFTs sold on the Solana platform.
- Coins in the wallet: To trade or mint NFTs on NFT marketplaces, you will need to fund your wallet with the cryptos supported by the marketplace.
- A user account: You will need to open an account on your preferred marketplace.
For the most part, creating or listing NFTs on any marketplace incurs a blockchain network fee, which varies depending on the system in use.
Before we show you how to mint an NFT, let’s go over some use cases for them first.
What can you do with an NFT?
NFTs have different use cases, including:
- Storage
- Ownership verification
- Monetization
- Collateral
Below, we break down we use case in more detail.
Storage
Easily produced digital files can be stored as NFTs to identify the original copy. This is popular with unique assets like music, art, photography, tweets, videos, and even memes.
Remember, you can create or mint NFTs from anything unique that holds value and can be stored digitally.
Represent ownership of unique items
NFTs can be used to represent the true ownership of unique items. As a matter of fact, NFTs let us tokenize things like real estate, collectibles, and art.
These digital assets are secured by the Ethereum blockchain and they can only have one official owner at a time.
Create new ways to monetize and invest in fashion
NFTs can be used to create new ways to monetize and invest in fashion. With blockchain technology, you can create one of the top-selling sneakers fueled by NFTs and sell for real-world money.
As a collateral for a loan
You can use your NFTs as a collateral for a loan. Let’s say you bought a CryptoPunk NFT with your last $2 million, and your landlord comes knocking for you to offset your rent. No problem. Take the CryptoPunk NFT to NFTfi to obtain a loan to settle your landlord. You will automatically get back your CryptoPunk NFT when you repay the loan.
How to Mint an NFT
A lot of NFT marketplaces support the ability to mint an NFT just the way you like. Four websites we like best are:
Below are step by step guides on how to mint an NFT on each of these websites.
Mintable
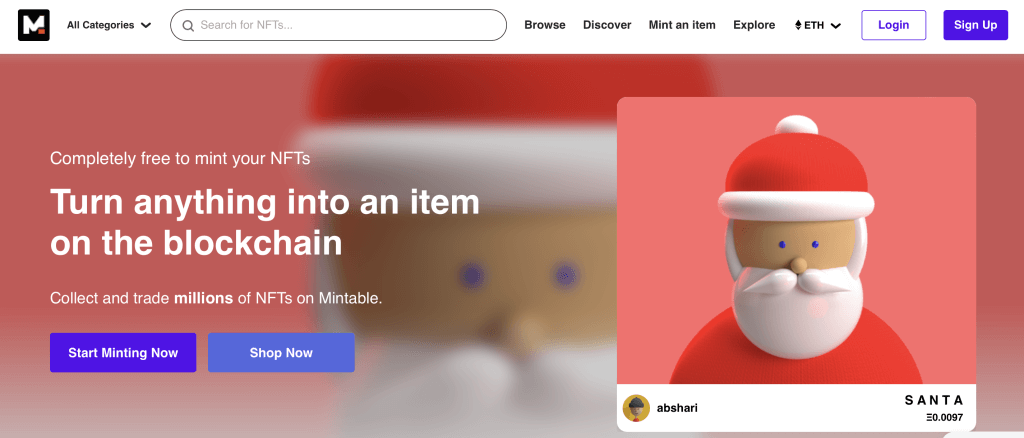
Follow these steps to mint your first NFTs on Mintable:
Create a MetaMask wallet
- Visit the official Metamask website at https://metamask.io/. Both Chrome and Firefox are supported by MetaMask, so make sure you are using one of those browsers.
- Click the Download button in the top right corner of the Metamask home page.
- Click on Install MetaMask for Chrome/Firefox.
- In the Metamask store listing page, click on Add to Chrome or Add to Firefox, depending on which browser you are using.
- Your browser will make sure that you actually want to install MetaMask in your browser. Read the disclaimer and then click on Add extension.
- After MetaMask is done installing in your browser, click on MetaMask in your Extensions area to launch your wallet. You may have to restart the browser in order for MetaMask to show up in here.
Deposit Funds in your wallet
- Login to your main MetaMask dashboard and make sure the Ethereum Mainnet is selected.
- Under the ETH section of the dashboard, hover over the account address and click on it to copy your address to your clipboard.
- Go to Binance (or Coinbase or FTX another crypto exchange) and log in if you aren’t already. Click on the Buy Crypto button.
- Enter in an amount in the currency box and then change the Receive option to ETH. Then, click on Continue.
- Confirm your chosen source of payment on the next screen and then click on Continue. If you don’t have valid payment info, you will have to load it here and then click Continue a second time after that is done.
- Review your order details and then click Confirm to complete the transaction.
- From the top menu, go to Wallet > Fiat and Spot to see your crypto balances. Under ETH, where you should see your deposity, click on Withdraw.
- In the Address box, enter in the address of your wallet you copied from MetaMask. Set the amount you want to send and then click on Withdraw.
Create an account on Mintable
- Visit http://mintable.app/ and click on the “Create an Account” button.
- Enter your username, email, and password.
- Agree to the terms and conditions
- Click the “create account” button.
You now have an account on Mintable.
Connect MetaMask to Mintable and Create an NFT
- Login to your Mintable dashboard and connect your MetaMask wallet.
- Click on “Mint an item” in the top navigation and choose “Create a new item”.
- Choose the advanced mode to access the traditional minting option.
Pick how you want to mint
These are the options available under traditional minting:
- Mint in the Mintable store: If you don’t have your own store, you can use the Mintable store to mint your first NFT.
- Only mint one token: You’re confirming that you want to mint only one token by checking this box.
- Batch mint multiple tokens: You can mint a number of tokens at once without paying a high price.
Choose your preferred option and move to the next stage.
Fill in your item details
The next step is to fill out your item details after choosing an option for minting. The details to add to each item include:
- Category: Set the category to the appropriate niche. For instance, if you want to mint art, you need to set the category to artwork.
- Token name: Give a name to your NFT
- Title: Give your listing a title. This is what other users will first see. Ensure you craft a catchy headline.
- Tags: Tags are words related to the colors, styles, theme, or content of your digital items. This will help other users to easily find your items.
- Price and type: This is the price you want to sell your NFTs.
- Add other required details.
Submit the form after filling out all the item details.
Congratulations! You have successfully minted your first NFTs on Mintable.
Opensea
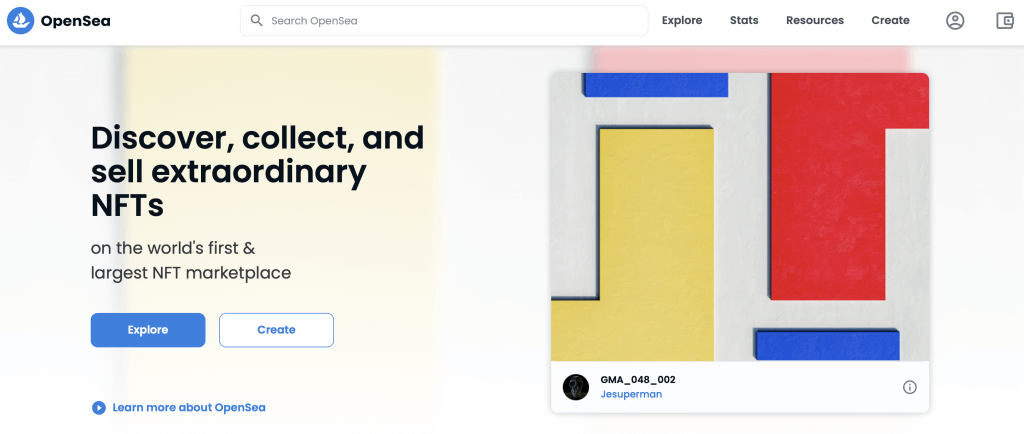
The process of minting NFTs on OpenSea is simple and straightforward. Follow these steps to create or mint an NFT on OpenSea:
Create a MetaMask wallet
- Visit the official Metamask website at https://metamask.io/. Both Chrome and Firefox are supported by MetaMask, so make sure you are using one of those browsers.
- Click the Download button in the top right corner of the Metamask home page.
- Click on Install MetaMask for Chrome/Firefox.
- In the Metamask store listing page, click on Add to Chrome or Add to Firefox, depending on which browser you are using.
- Your browser will make sure that you actually want to install MetaMask in your browser. Read the disclaimer and then click on Add extension.
- After MetaMask is done installing in your browser, click on MetaMask in your Extensions area to launch your wallet. You may have to restart the browser in order for MetaMask to show up in here.
Deposit Funds into your MetaMask wallet
- Login to your main MetaMask dashboard and make sure the Ethereum Mainnet is selected.
- Under the ETH section of the dashboard, hover over the account address and click on it to copy your address to your clipboard.
- Go to Binance (or Coinbase or FTX another crypto exchange) and log in if you aren’t already. Click on the Buy Crypto button.
- Enter in an amount in the currency box and then change the Receive option to ETH. Then, click on Continue.
- Confirm your chosen source of payment on the next screen and then click on Continue. If you don’t have valid payment info, you will have to load it here and then click Continue a second time after that is done.
- Review your order details and then click Confirm to complete the transaction.
- From the top menu, go to Wallet > Fiat and Spot to see your crypto balances. Under ETH, where you should see your deposity, click on Withdraw.
- In the Address box, enter in the address of your wallet you copied from MetaMask. Set the amount you want to send and then click on Withdraw.
Connect your wallet to OpenSea
- Visit http://www.opensea.io/ and navigate to where you will find “Profile” at the top-right corner.
- You will be promoted to connect a wallet. Choose MetaMask.
- Read and accept the terms of service.
- Enter your username and email to verify your account.
- A verification mail will be sent to your email. Verify your email and proceed with the process.
- That’s it. You are now ready to mint your first ever NFT on OpenSea.
Create your NFT collection
After linking your wallet to OpenSea, the stage is now set to mint NFTs. The best way to mint NFTs is to create a collection instead of uploading individual files. The reason being that NFTs are best sold as a collection. Follow these steps to create a collection:
- Navigate to your OpenSea profile and click on the “My Collection” button.
- Select “Create” to create a new collection.
- Think of a collection like your digital artwork portfolio. You can add any design, drawings, memes, or even adorable kittens here.
After making your collection, it’s now easy to add an NFT at any time. Follow these steps to mint an NFT:
- Open the just created collection
- Click on “Add new items” and upload an NFT.
- Give your NFT a name, level, features, and other descriptions.
- When you are done, click on the “Create” button.
That’s it! The NFT will appear in your collection. You can decide to sell the NFT to the highest bidder or keep it for display on the OpenSea marketplace.
Rarible
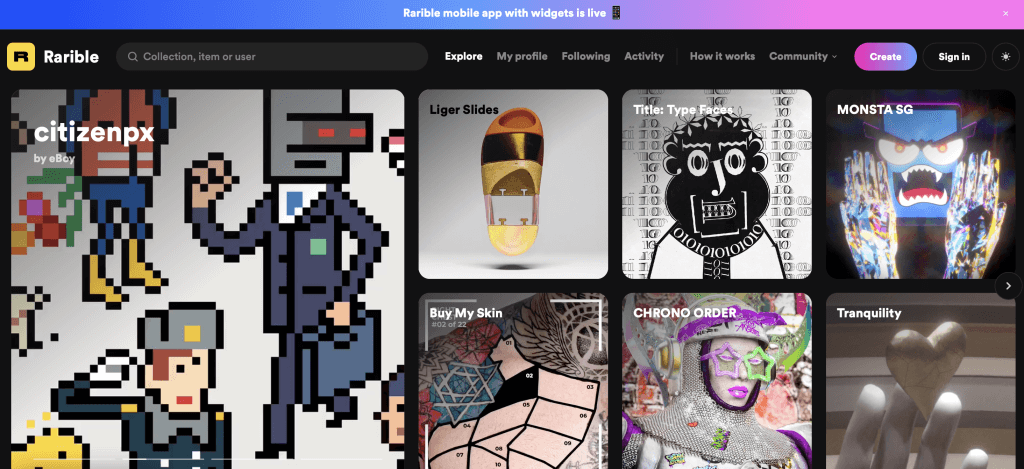
Create a MetaMask wallet
- Visit the official Metamask website at https://metamask.io/. Both Chrome and Firefox are supported by MetaMask, so make sure you are using one of those browsers.
- Click the Download button in the top right corner of the Metamask home page.
- Click on Install MetaMask for Chrome/Firefox.
- In the Metamask store listing page, click on Add to Chrome or Add to Firefox, depending on which browser you are using.
- Your browser will make sure that you actually want to install MetaMask in your browser. Read the disclaimer and then click on Add extension.
- After MetaMask is done installing in your browser, click on MetaMask in your Extensions area to launch your wallet. You may have to restart the browser in order for MetaMask to show up in here.
Deposit Funds in the wallet
- Login to your main MetaMask dashboard and make sure the Ethereum Mainnet is selected.
- Under the ETH section of the dashboard, hover over the account address and click on it to copy your address to your clipboard.
- Go to Binance (or Coinbase or FTX another crypto exchange) and log in if you aren’t already. Click on the Buy Crypto button.
- Enter in an amount in the currency box and then change the Receive option to ETH. Then, click on Continue.
- Confirm your chosen source of payment on the next screen and then click on Continue. If you don’t have valid payment info, you will have to load it here and then click Continue a second time after that is done.
- Review your order details and then click Confirm to complete the transaction.
- From the top menu, go to Wallet > Fiat and Spot to see your crypto balances. Under ETH, where you should see your deposity, click on Withdraw.
- In the Address box, enter in the address of your wallet you copied from MetaMask. Set the amount you want to send and then click on Withdraw.
Sign into Rarible with your MetaMask wallet
Go to https://rarible.com/connect and sign in to Rarible with your MetaMask wallet. Connect your wallet and move to the next step.
Mint an NFT on Rarible
Follow these steps to mint an NFT on Rarible:
- Click on the “Create a collectible” button on the upper right corner.
- Decide whether you want to mint a single or multiple collectibles. Note that “multiple” is for an editioned collectible, while “single” is the option for a unique collectible.
- Choose the collection. The collection is the contract in which you will be able to mint an NFT. You can either create your own contract or choose the default Rarible contract. Note that the process of creating your own contract is laborious and costs a lot in gas fees.
- Upload your art. This can be in GIF, PNG, JPG, MP3, MP4, or WEBP.
- You’re almost done!
- Give your NFT a name and a nice description. You may also add additional properties like resolution, pixel size, etc.
- Select “Create item” and confirm your wallet when you are done with the above steps.
Congratulations! You have just minted an NFT on Rarible.
Foundation
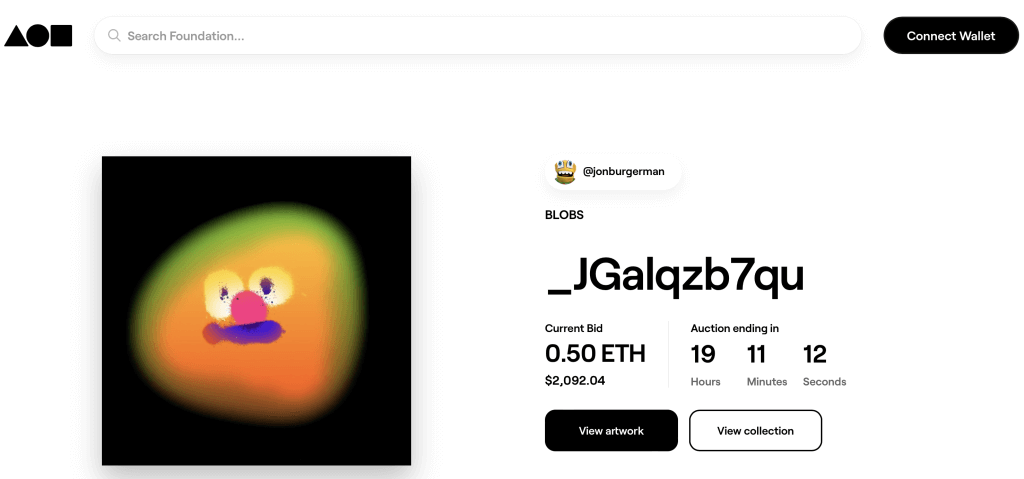
Create a MetaMask wallet
- Visit the official Metamask website at https://metamask.io/. Both Chrome and Firefox are supported by MetaMask, so make sure you are using one of those browsers.
- Click the Download button in the top right corner of the Metamask home page.
- Click on Install MetaMask for Chrome/Firefox.
- In the Metamask store listing page, click on Add to Chrome or Add to Firefox, depending on which browser you are using.
- Your browser will make sure that you actually want to install MetaMask in your browser. Read the disclaimer and then click on Add extension.
- After MetaMask is done installing in your browser, click on MetaMask in your Extensions area to launch your wallet. You may have to restart the browser in order for MetaMask to show up in here.
Deposit Funds in the wallet
- Login to your main MetaMask dashboard and make sure the Ethereum Mainnet is selected.
- Under the ETH section of the dashboard, hover over the account address and click on it to copy your address to your clipboard.
- Go to Binance (or Coinbase or FTX another crypto exchange) and log in if you aren’t already. Click on the Buy Crypto button.
- Enter in an amount in the currency box and then change the Receive option to ETH. Then, click on Continue.
- Confirm your chosen source of payment on the next screen and then click on Continue. If you don’t have valid payment info, you will have to load it here and then click Continue a second time after that is done.
- Review your order details and then click Confirm to complete the transaction.
- From the top menu, go to Wallet > Fiat and Spot to see your crypto balances. Under ETH, where you should see your deposity, click on Withdraw.
- In the Address box, enter in the address of your wallet you copied from MetaMask. Set the amount you want to send and then click on Withdraw.
Connect your MetaMask wallet
Before you start minting NFTs on Foundation, it is important to first Twitter verify your profile. This adds more security to your account.
- Go to Foundation.app and click “Connect Wallet.”
- Connect your MetaMask wallet to Foundation. This action will activate your Foundation profile.
Mint an NFT on Rarible
- Navigate the Foundation App and Click the “Create” button located at the upper-righthand corner. This action will direct you to the “Create an NFT page.”
- Select the format to upload the file. Feel free to select GIF, JPG, SVG, PNG, MP4, GLFT, or GLB.
- Upload a new artwork not bigger than 50MB. For videos, 4K or 1080p is best. After uploading the file, it will automatically be sent to IPFS.
- Add a title and descriptions to your NFTs.
- Confirm the details before signing your NFT.
- Mint your NFT and complete the process.
Add a title and description: Be sure to include background information, exhibition history, and any other interesting details here. Collectors want to learn as much about your creative practice as possible. Confirm the details of your work before moving on to sign your NFT. Once you mint an NFT on Foundation, you won’t be able to make any changes.
Congratulation!
You have just learned how to mint an NFT on four of the most popular NFT marketplaces on the internet. If you got stuck on any of the steps above, comment down below and let us know.
Now that you have minted your NFT, you can show it off to your friends or advertise it across the internet. If you can show that it has value, maybe you can sell it for real money?
If you mint an NFT, show it off in the comments below.

